Automating the Process of Clearing the Recycle Bin
Encountering unneeded files in Windows 11, you might promptly delete them. However, permanently removing these files requires more than just a simple deletion. Even after being deleted, these files linger in the recycle bin, still recoverable.
This tutorial will demonstrate setting up a scheduled task to automatically clear the recycle bin. This automation allows you to focus on more critical tasks without fretting over the status of your recycle bin.
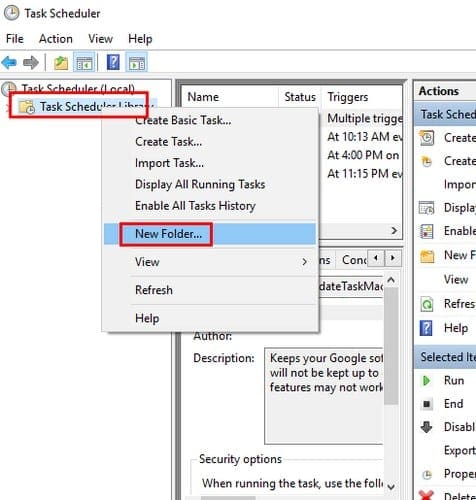
- To schedule the recycling bin, open the Task Scheduler by searching for it in the search bar.
- In the Task Scheduler screen, right-click on Task Scheduler Library > New Folder…
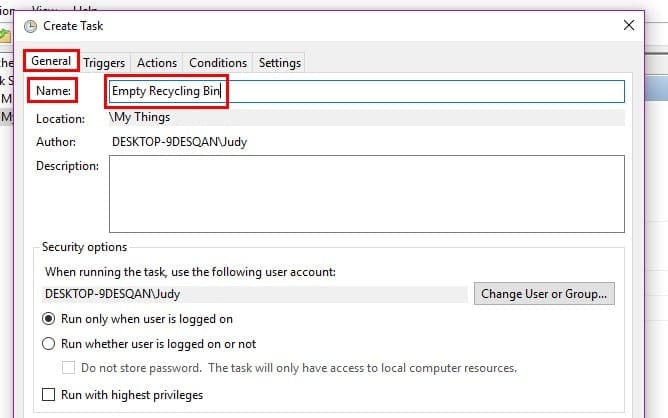
- Give the folder a name, like “Auto Del Bin” or something recognizable for the task. Right-click on the new folder and choose to Create task. On the General tab, give your task a name that describes what it does in the Name field.
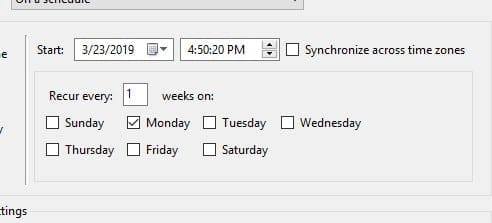
- Select the Triggers tab then choose the New button at the bottom left.
- Select the Begin the task > On a schedule.
- I recommend you choose the monthly or weekly option if the schedule option is being used as a trigger. There will also be an option where you can decide when you want the cleaning to begin. Right below that, you can also choose the day.
- Select the Actions tab, followed by the new option at the bottom right. Under Settings where it says Programs/script type cmd.exe and also under Settings, in Add arguments type:
/c "echo Y|PowerShell.exe -NoProfile -Command Clear-RecycleBin" -Force
Ensure all details are correctly entered, then click “OK” to complete setting up your task.